Drupal 8 brings several major upgrades to the popular CMS, including the new core media module. The media library allows you to upload, manage, and reuse media (images, audio, video, and files) throughout your site, using a modern, user-friendly interface.
As a core module, it also completely integrates with:
- Image styles
- Responsive image styles
- As of version 8.8, the CKEditor!
- And a host of popular contributed modules such as focal point, retina images, and photoswipe
How can I use these with my CiviCRM entities, such as events?
These rich media features are just some of the modern Drupal 8 sitebuilding tools we use for our clients here at Skvare. And now they can be fully integrated with your CiviCRM entities as well using the CiviCRM Entity module, easily creating a full-featured user experience.
Today we will be demonstrating this capability by adding images in a slideshow to the CiviCRM superhero event from our last blog.
First, we need to enable Event at Structure > CiviCRM Entity > Settings.
Then we’ll add a new form mode at Structure > Display modes > Form modes > Add form mode, and choose our newly enabled CiviCRM Event. We’ll call our new mode “Superhero events”.
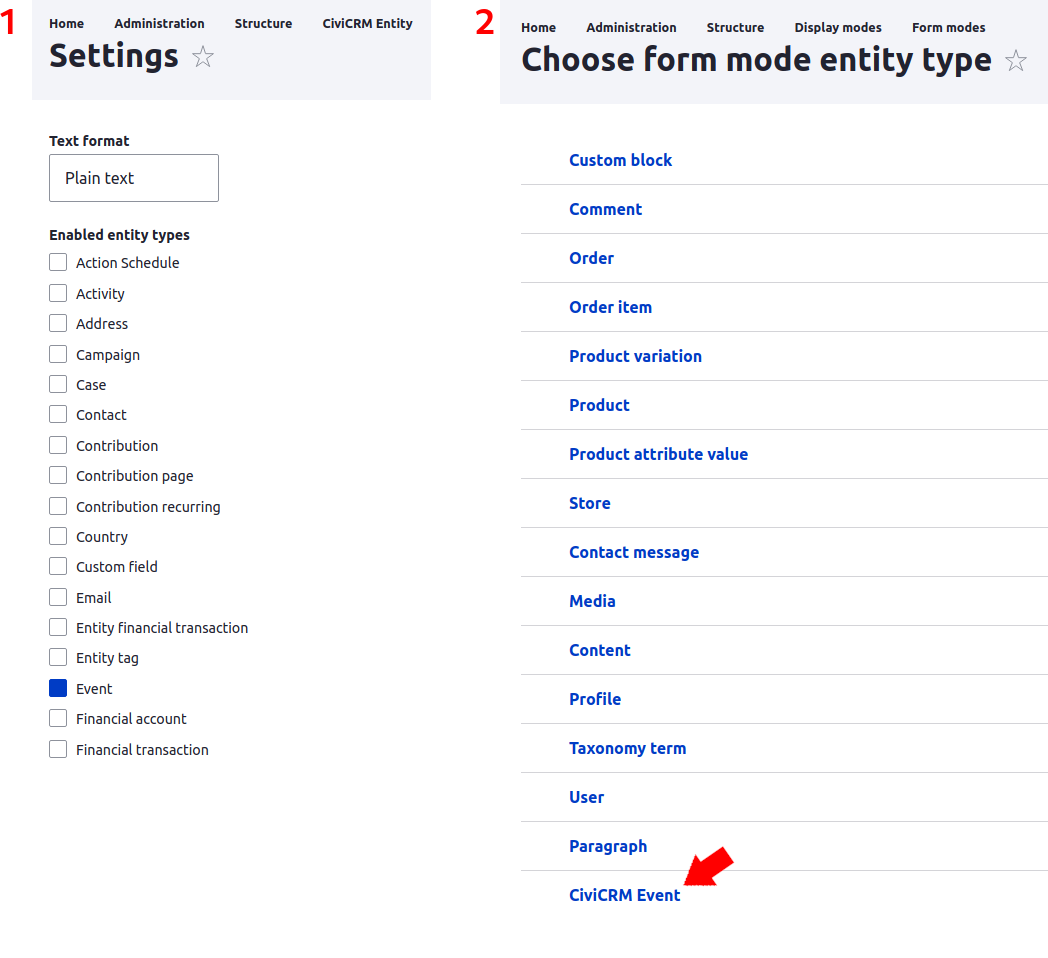
This will let us reference and use our events with any entity type - nodes, users, taxonomy terms, or custom entities and bundles - via an entity reference field using the inline entity form widget.
Let's integrate!
To add our media field we'll then navigate to Structure > CiviCRM Entity > CiviCRM Event and select the Manage fields tab.
We will add a Media reference field, titled “Event Photos”, select Unlimited for allowed number of values, and Image for the media type. This will allow us to use Drupal media entities and the media library with our event.

Now we want to create a new Event content type to manage the display of our CiviCRM Event entity data and media images.
Add a Content reference field, we’ll call it “Event Reference”, and choose CiviCRM Event as the type of item to reference. Leave the default settings and save.

A little housekeeping...
- Let’s delete the body field as we won’t really need it.
- For our new content type we will also go to the Edit tab and uncheck Display author and date information under Display settings as those will be unnecessary to show on our event pages.
- And on the Manage display tab we will hide our labels.
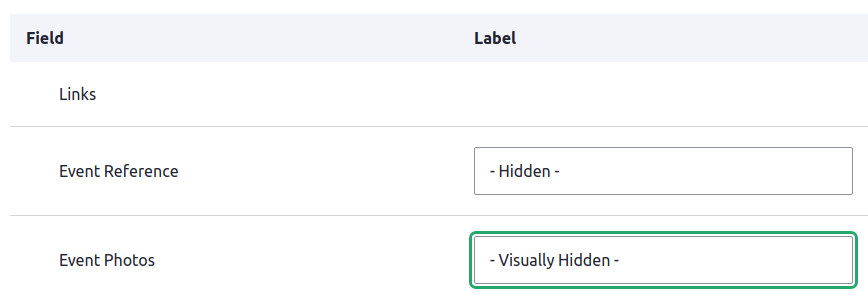

Optional step!
As we already created our Support your JLA event last time, we just want to create and connect a new Drupal Event-type content.
So we’ll go to Content > Add content > Event and select our CiviCRM event from the dropdown, and save.
Standard integrated setup
With this setup we also have the option to create our events through our new node type - and this is how we’ll normally want to add events from now on.
To finish configuration, we’ll go to Manage form display and set the Event Reference field to use the Inline entity form - Simple widget, allowing us to access and edit the CiviCRM Event fields. And we’ll set the form mode to Superhero events.

Bringing it all together
Now if we view our new Support your JLA content, we will see our familiar CiviCRM Event fields pre-populated with our event data.
And we can edit our new content and add a few images.
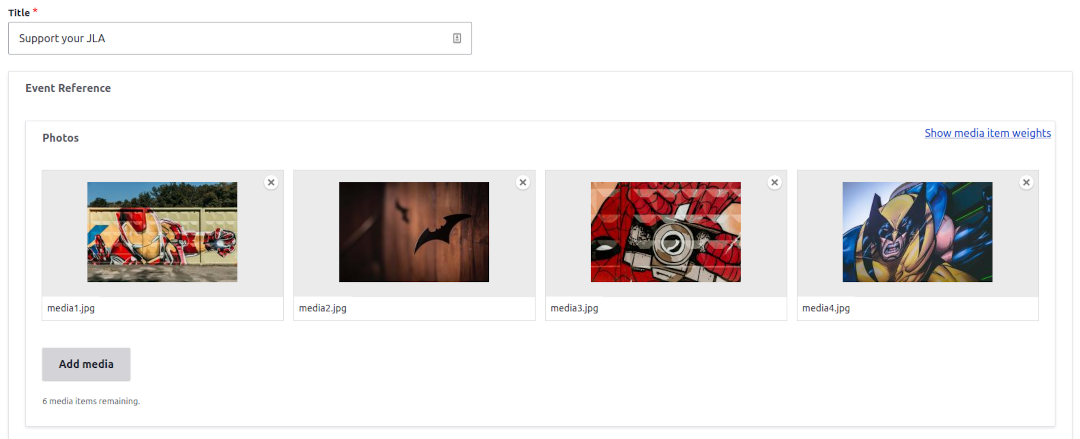
That's pretty cool, but let's make it Slick!
Lastly, we’ll set up our event images as a Slick slideshow for a great looking frontend experience to help entice our heroes to register. You can use a number of other image and media formatting and display modules - Slick just happens to be my favorite.
We previously set up a main and thumbnail optionsets for Slick, and I’ll include an example setup as slideshows can be a bit tricky to configure. If you have any questions about configuring Slick for your specific use case, let us know!
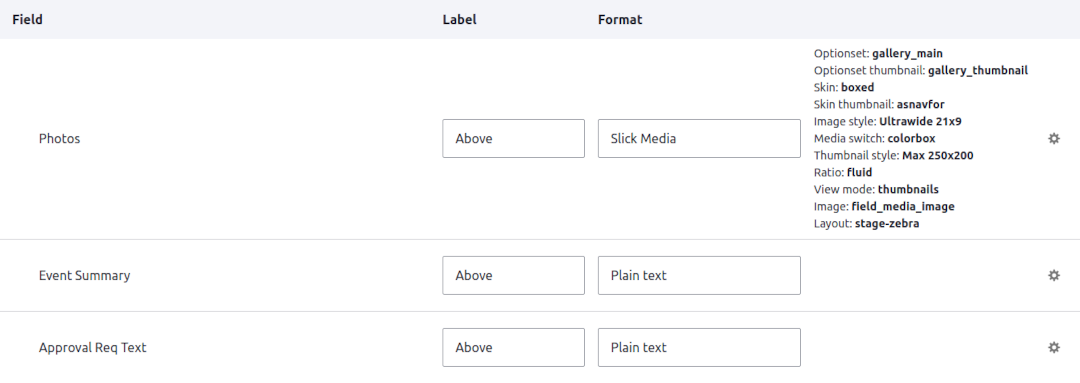
And success!
And now, we have our new Event information page with integrated media displayed as a Slick gallery!
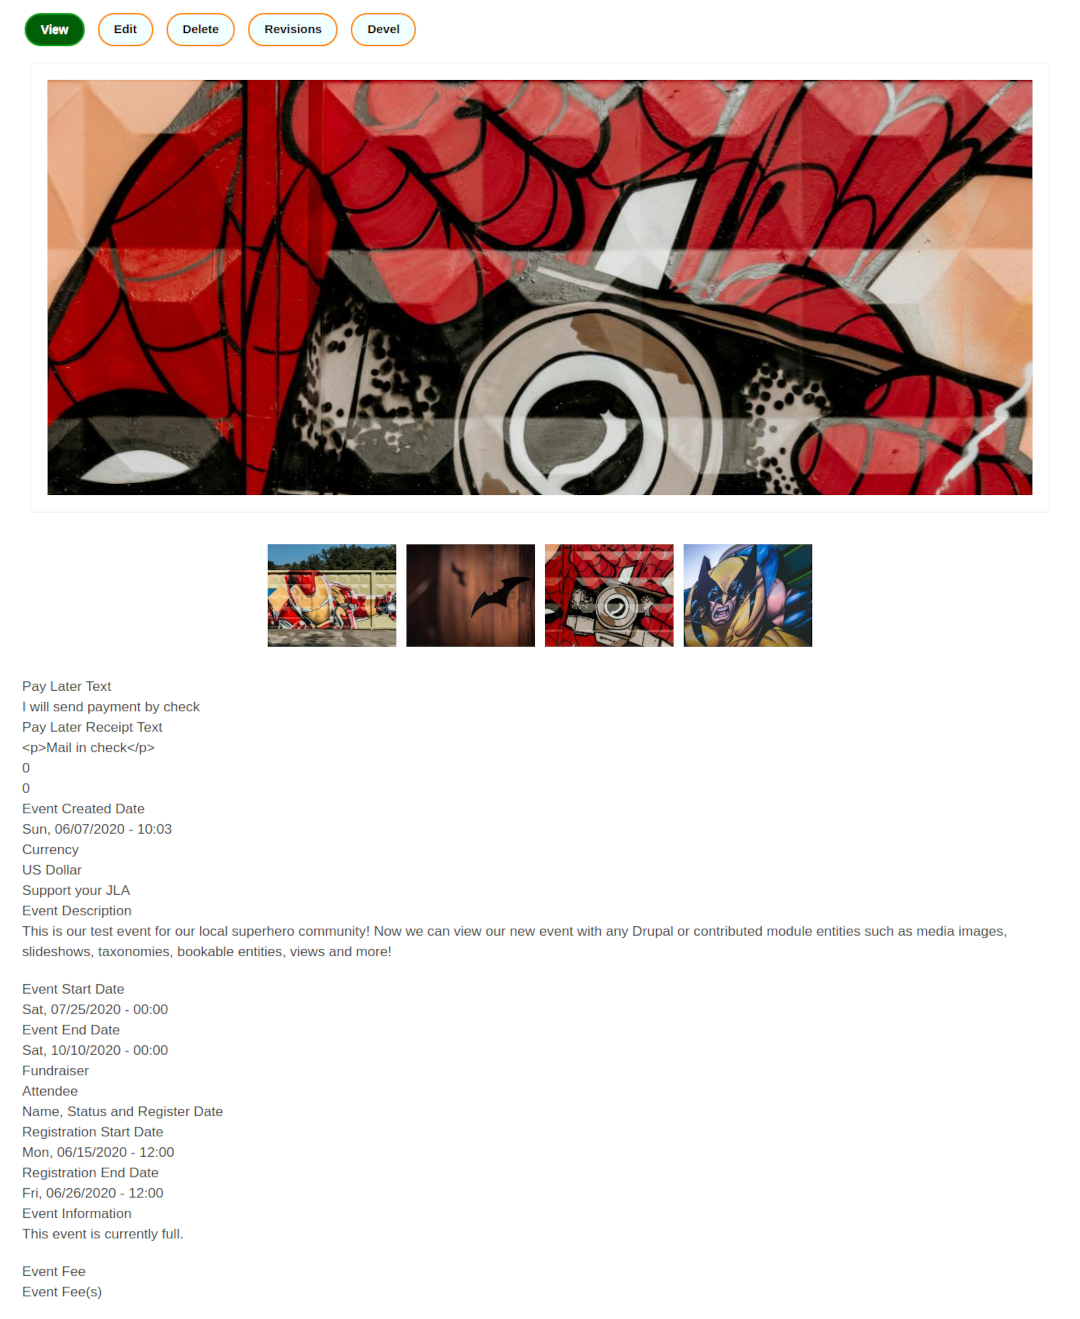
Have it your way
In today’s example we added media images to a CiviCRM Event. But the integration provided by the CiviCRM Entity module exposes any entity to Drupal and contributed modules, so we encourage you to explore the nearly unlimited possibilities and potential use cases.
And as always, if you have a specific use case you’d like to discuss, please contact our expert team here at Skvare for a free consultation. We would love to explore working with you as your digital and technology partner!
Up next!
In our next blog we will be taking several of the elements we have explored in our series so far, and combining them to create a full-featured, professional-looking page using the Layout Builder in Drupal 8 core!
For more information, you can read our CiviCRM Entity information page or visit the module homepage to review and install!